
EA Sports FC 25: Investment Strategies for Coins Profits

Alright guys, the easiest investment of the week is officially here! In this article, we’ll dive into the best investment opportunities available in EA Sports FC 25 right now. We’ll cover Team of the Weeks (TOTW), Team of the Season Moments, normal Team of the Seasons fodder, and the latest Footies Batch 2. By the end, you’ll know where to put your FC 25 coins for the best returns. Drop a like, subscribe, and let’s get into the details!

Content Overview

Today’s content drop wasn’t anything special. We got the 81+ Tradable Team of the Week (TOTW) upgrade, a great SBC that includes Team of the Season (TOTS) and TOTS Moments, refreshed on a Wednesday. This refresh is the basis of our investment strategy.

We also saw a new Dynamic Duos SBC featuring a 95-rated player worth around 160,000 coins. While these cards can be appealing, the stats might feel underwhelming to some players. For example, the 6’2″ Cano SBC with only 82 jumping and four-star skills. Nevertheless, these SBCs are relatively cheap and can be crafted for free using the unlimited pack method. Check out my video on that for more details.

In addition, the 92+ Path to Glory, Make Your Mark, Team of the Tournament, and Heroes Footies Team 1 Player Pick is back, but content-wise, there’s nothing too groundbreaking.

Main Investment Strategy

Why Invest in TOTW and TOTS Cards?

1. SBC Requirements: On Friday, we see the 84 x 10 Upgrade SBC refresh, which is repeatable three times daily for a week. This SBC expires on Friday at content time, coinciding with the launch of a new promo. Players will need TOTW and TOTS cards to complete these SBCs, causing their prices to rise.

2. Market Fluctuations: TOTW cards have been dropping in price due to the tradable Team of the Week player pick being available. Currently, TOTWs are priced around 35,000 to 36,000 coins, down from 48,000 coins the previous day. This drop is a prime buying opportunity.

Target Prices for Investments

Team of the Week Cards

  • Target Price: 29,000 to 30,000 coins
  • Why: With the 84 x 10 SBC and potential new upgrade SBCs requiring TOTW cards, their prices are likely to rise. Historically, buying TOTWs at around 30,000 coins has yielded profits as their prices can rise to 47,000 to 50,000 coins.

Team of the Season Moments

  • Target Price: 25,000 to 26,000 coins
  • Why: TOTS Moments are also essential for completing SBCs. Cards like Zakaria dropped to 30,000 coins but previously hit 45,000 coins. Tracking these cards and buying at the lower end can result in significant profits.

Additional Investment Tips

  1. Footies Batch 2: These are some of the best investments right now. Prices tend to be lower during the initial release and rise as players complete SBCs that require these cards.
  2. Market Monitoring: Keep an eye on the market prices and buy when they dip below your target prices. For instance, using bidding filters to get TOTS Moments at 25,000 to 26,000 coins can ensure you secure investments at the best prices.
  3. Discord Insights: If you’re part of an MMOexp Discord group, leverage the early SBC requirements and investment tips shared there. These insights can provide a competitive edge in making timely purchases and sales.

Conclusion

Investing in TOTW, TOTS Moments, and normal TOTS fodder during content drops and SBC refreshes is a proven strategy for making significant FUT 25 coins profits in EA Sports FC 25. Remember to track market prices closely, set realistic target prices, and capitalize on dips. Join MMOexp Discords for early insights and stay updated on the latest SBC requirements to maximize your investment returns.

For those looking to craft SBCs for free or understand the unlimited pack method!

Maximizing Ship Performance for Successful PvE in Skull and Bones

In the treacherous world of Skull and Bones, victory in PvE encounters relies not just on the ship’s hull, engines, and armaments, but also on the strategic selection and placement of its “furniture” – the modules and components that augment the vessel’s capabilities.

One of the most impactful furniture pieces is the Aiming Station. This versatile module applies the Marked status to any target struck from over 320 meters away. When paired with the powerful Double Capstan Ballista, the Aiming Station allows you to precisely target enemy weak points from a safe distance, increasing their vulnerability to your weapons. Obtain enough Skull and Bones Items to complete the seasonal contract system.The Marked status also enhances your crew’s situational awareness, enabling them to coordinate their attacks with deadly precision.

Another essential furniture item is the La Potence Schematics I. This blueprint boosts the damage dealt to enemy ship weak points by a remarkable 10%. In the chaos of PvE battles, the ability to quickly identify and target a vessel’s vulnerable areas can mean the difference between triumph and defeat. The La Potence Schematics I ensures that your weapons strike harder and more effectively against these crucial weak points.

Complementing these key modules, the Bombard Works 1 and Ballista Works 1 upgrades work in tandem to increase the elemental damage multiplier of their respective weapon systems by 19%. Whether you prefer the raw destructive power of the Bombard or the precision of the Ballista, these enhancements will amplify the devastating impact of your armaments, making short work of even the toughest PvE challenges.

The Edit Wheel serves as the command center for your ship’s systems, and the strategic placement of your key modules can mean the difference between smooth sailing and chaotic scrambling. Positioning your Repair Kits 1, 2, and 3 at the top and right side of the Edit Wheel ensures quick access in case of unexpected damage. On the left side, the Stew module provides a much-needed boost to your crew’s support and stamina recovery, keeping them at the top of their game throughout the battle.

The Thalassodon, a powerful furniture piece, takes its place on the Edit Wheel, ready to replenish a staggering 60% of your ship’s stamina. Whether you’re engaged in a prolonged encounter or need to quickly reposition for a new objective, the Thalassodon’s restorative powers can be the decisive factor that keeps your ship and crew in the fight.

The beauty of Skull and Bones furniture system lies in the ability to tailor your loadout to the specific challenges you’ll face. For those interested in tackling the game’s formidable forts, the right furniture choices can make all the difference. The Grand-Fort, for instance, can be conquered by simply destroying 2 key parts and holding the position – a task made infinitely easier with the Aiming Station and La Potence Schematics I.

Similarly, the Fort Harimau, which dynamically spawns different numbers of enemy ships, can be more effectively navigated with the Aiming Station and La Potence Schematics I, allowing you to quickly identify and eliminate priority targets. And for the more adventurous, the Fort Duister offers a unique challenge, where you can simply sail around the fort without worrying too much about its imposing walls.

Ultimately, Be prepared to cheap Skull and Bones Silver at MMoexp as players rise to their challenges. the “furniture” of your ship in Skull and Bones is more than just a collection of modules – it’s the foundation upon which you build your PvE strategy. By carefully curating your loadout and optimizing the placement of these key components, you’ll be well on your way to becoming the undisputed master of the open seas. So set sail, captain, and let your furniture be the secret weapon that propels you to victory.

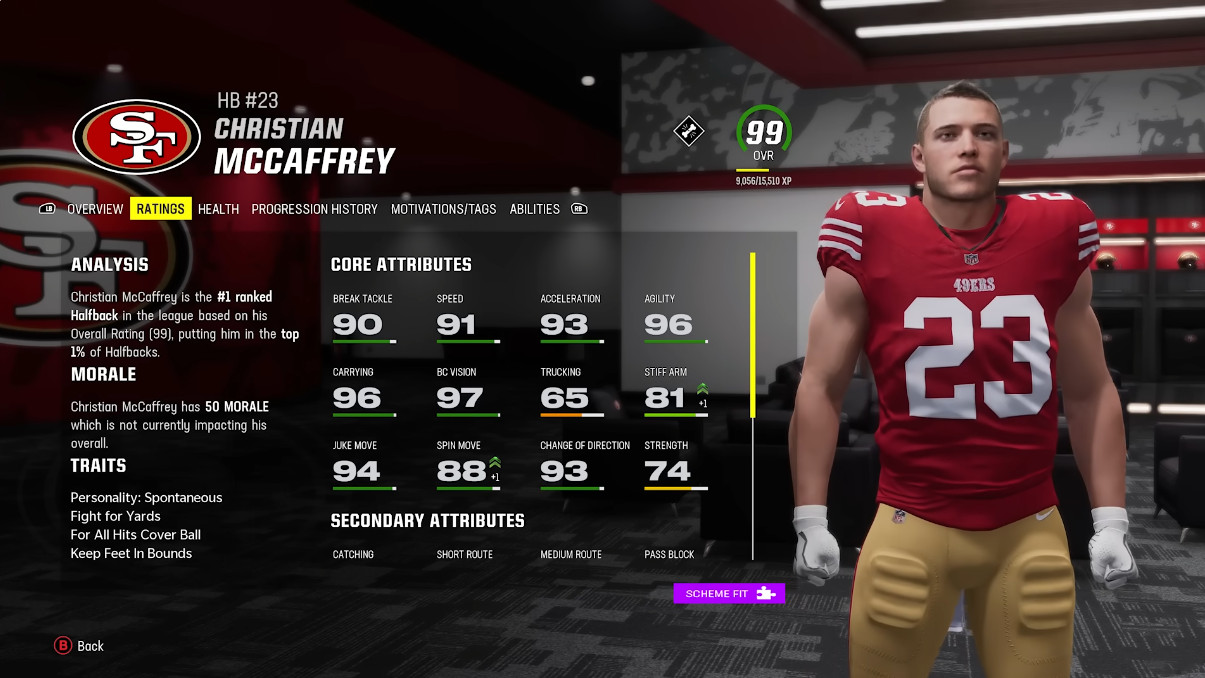
Top 10 Madden NFL 25 Ultimate Team Cards You Need Right Now

Today, I’m diving into the top 10 cards in Madden NFL 25 Ultimate Team that you need on your roster. Even though the player base might not be as large as it once was, there are still plenty of dedicated fans out there enjoying the game. Whether you’re looking to update your squad or just pick up a few standout players, this guide will help you make the right choices. I’ve recently revamped my team significantly, and I’m excited to share my picks with you!

1. Vita Vea (Tight End)

Let’s start with a unique choice: Vita Vea as a tight end. Now, you might be thinking, “Isn’t he a defensive tackle?” Yes, but with 99 speed, 94 run block, and impressive stats all around, he’s a game-changer at tight end. Weighing in at 347 pounds and standing 6’4″, his run blocking is superior to most traditional tight ends. While his route running might not be the best, his blocking abilities and sheer size make him a valuable asset in the trenches.

Abilities:

    Tight End Apprentice (1 AP)

    Secure Protector (1 AP)

Even though his abilities might not be groundbreaking, his physical attributes and blocking skills are unmatched. Add him to your squad and see the difference he makes in your run game!

2. Autogram (Quarterback)

Autogram is an excellent choice for your quarterback position. His standout feature is the range of zero AP abilities he offers, including:

    Charged Up (1 AP)

    Master Tactician (1 AP)

    Fearless (1 AP)

    Jukebox (1 AP)

    Inside Dead Eye (1 AP)

With these abilities, Autogram provides versatility and effectiveness. His stats and abilities ensure that he performs exceptionally well both in the pocket and on the run, making him a reliable choice for your offense.

3. Rookie Premiere Halfback

This Rookie Premiere Halfback is a beast on the field. With 99 stock speed and a plethora of abilities all for just one AP each, he’s a must-have. Here’s what you get:

    Franchise Player (1 AP)

    Recuperation (1 AP)

    Reach For It (1 AP)

    Backlash (1 AP)

    Bruiser (1 AP)

    Human Joystick (1 AP)

    Evasive (1 AP)

    Route Tech (1 AP)

He also gets the Cowboy Team Kim with the special token, and he’s perfect for both running the ball and catching passes out of the backfield. His versatility and AP efficiency make him an essential part of any Ultimate Team.

4. Top Lineman (Center)

This Center is an outstanding choice for your offensive line. What sets him apart are his zero AP abilities:

    Secure Protector

    Vanguard

    Screen Protector

    Lifeguard

    Identifier

    Post Up

    Recuperation

    All Day

    Lynch Pin

    Edge Protector

    Nasty Streak

Having these abilities for zero AP makes him a valuable asset, providing excellent protection for your quarterback and improving your offensive line’s overall performance.

5. PCO Burst (Wide Receiver)

PCO Burst is a top-tier wide receiver due to his unique abilities:

    Route Tech

    Deep Elite

    Honor Lineman

    Mid In Elite

    Third Down Threat

    Evasive (All for zero AP)

He also offers times five of any team cam, giving you flexibility in team-building. With 99 stats across the board and these exceptional abilities, PCO Burst is a key player in the passing game.

6. Dave Robinson (Middle Linebacker)

Dave Robinson is a standout middle linebacker with some fantastic features:

    All 32 Team Kims (Unique to this card)

    Zero AP Abilities:

        Route Tech

        Secure Protector

        Evasive

        Guard

        Yak Him Up

        Bottleneck

        Universal Cover

With all 99 attributes, including speed and strength, Robinson is a dominant force on the field. His ability to get all 32 teams Kims makes him a flexible option for any squad.

7. Joey Bosa (Left Outside Linebacker)

Joey Bosa offers exceptional pass-rushing capabilities with these abilities:

    Charged Up

    Colossus

    Dominant Pass Rush

    Unstoppable Force

    Avalanche

    Persistent

    Secure Tackler

    Mr. Big Stop

    Edge Threat

    Elite

    Stonewall

    Out of My Way

    Pick Artist

    No Outsiders

His attributes are solid, and his abilities make him a powerful addition to your defense. He’s particularly effective against double-teams and excels in pressuring the quarterback.

8. Darren Woodson (Safety)

Darren Woodson is another top pick with his impressive stats and abilities:

    Avalanche

    Reinforcement

    Recuperation

    Flat Zone KO

    No Outsiders

    Acrobat

    Stonewall

    Mid Zone KO

    Deep In Zone KO

    Inside Shade

    Outside Shade

He’s great for coverage and has 99 attributes across the board, making him a valuable safety for any defense.

9. Ryan Clark (Safety)

Ryan Clark offers a solid safety option with:

    Five Team Kims

    Outmatch

    Pick Artist

    Flat Zone KO

    Outside Shade

    Tackle Supreme

    Deep Zone KO

    Lurk Artist

Despite being 5’11”, his abilities and stats make him an effective safety on the field.

10. Night Train Lane (Cornerback)

Night Train Lane is another standout with:

    Zero AP Abilities:

        Lurk Artist

        Reinforcement

        Recuperation

        Reach Elite

        Edge Threat

His stats are solid, and he’s a great addition to any cornerback position due to his versatility and playmaking abilities.

Conclusion

These top 10 cards in Madden NFL 25 Ultimate Team will elevate your squad significantly. Whether you’re updating your team or just picking a few key players, these choices offer a combination of standout abilities and attributes that make them essential. Keep in mind that while some of these cards might have more abilities than others, their overall impact on your team’s performance is unmatched.

As always, I’ll be keeping you updated with the latest Madden NFL 25 content, including predictions and new information as it becomes available. Stay tuned to MMOexp for more guides and updates, and keep enjoying the game! MMOexp offers the best way to buy cheap Mut 25 Madden coins sales service and more. Good luck and happy gaming!

Elden Ring: Shadow of the Erdtree – An Immersive Expansion

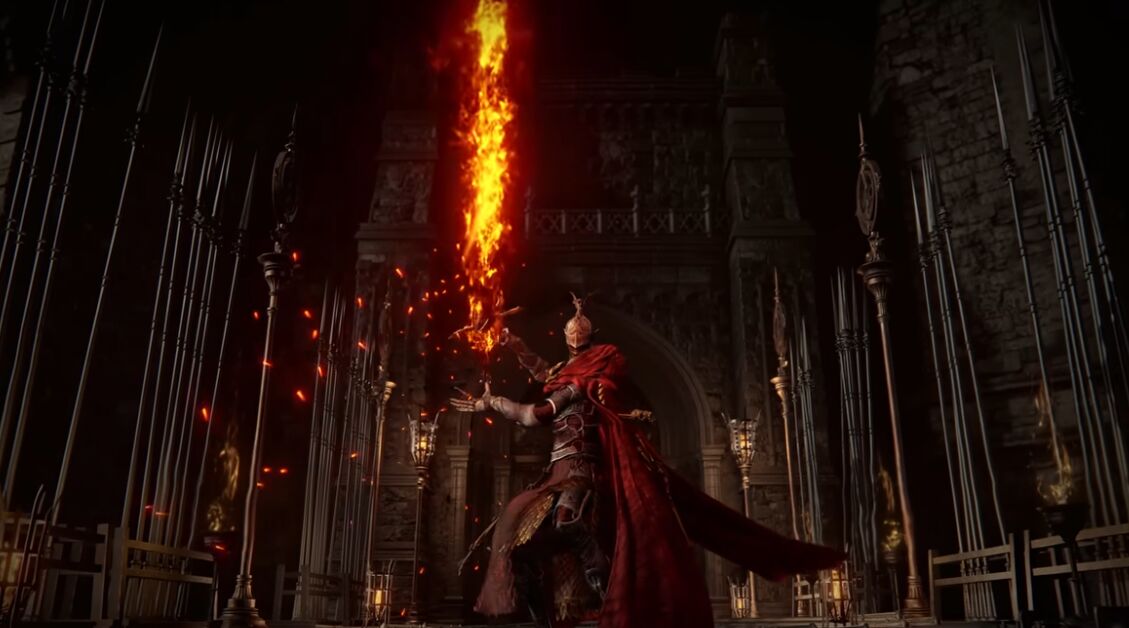
Elden Ring, FromSoftware’s critically acclaimed masterpiece, has captivated players worldwide with its vast open world, rich lore, and unforgiving gameplay. The recently released “Shadow of the Erdtree” DLC builds upon this foundation, introducing a wealth of new content and mechanics that enhance the overall Elden Ring experience.

Expanded Gameplay Depth:

The DLC introduces two new items – the Revered Soul Ember and Scadutree Fragment – which grant players unique bonuses to their Soul Ember summons and damage reduction/attack power, respectively. These bonuses only take effect within the new “Shadow of the Erdtree” area, encouraging players to delve deeper into the expansion’s content and experiment with strategic approaches.

Thoughtful Difficulty Balancing:

The DLC’s added challenges within the Shadow of the Realm region are carefully balanced against the power granted by the new items. This ensures that players face an arduous, yet fair, adventure that stays true to Elden Ring’s renowned difficulty. Conquering the obstacles in this expansion will truly test a player’s skill and determination.Take control of your destiny and write your own legend in the Elden Ring universe, with Elden Ring Runes as the must-have currency.

Compact and Captivating World:

While the base game’s open world is vast, the Shadow of the Erdtree DLC offers a more compact and densely packed environment. This new area, roughly the size of the Atlus Plateau and Liurnia regions combined, is brimming with content, secrets, and challenges that keep players engaged and exploring.

Familiar Progression Mechanics:


The DLC’s progression system mirrors the Sacred Tears/Golden Seed system from the base game, providing a sense of continuity and growth without overwhelming players with too many permanent upgrades. This familiarity helps new content blend seamlessly with the existing Elden Ring experience.

Technical Considerations:

Like many expansions, the Elden Ring DLCs may occasionally suffer from minor technical issues, such as occasional framerate drops or bugs. While these are not game-breaking, they can be frustrating, especially during tense moments.

Specialized Rewards:

The new items and upgrades introduced in the Shadow of the Erdtree DLC are primarily beneficial within the confines of the expansion’s new region. While this ensures a well-balanced experience, some players may feel limited in their ability to apply these rewards to the wider Lands Between.

In conclusion, the Elden Ring: Shadow of the Erdtree DLC is a must-have expansion for any fan of the game. The new content and mechanics seamlessly integrate with the base game, offering a challenging and rewarding adventure that will captivate both veteran and novice players alike. With a steady supply of cheap Elden Ring Items, you’ll have the resources to defeat the relentless enemies and obstacles that stand in your way. While minor technical issues and the compressed nature of the new environments may be drawbacks for some, the pros of this DLC far outweigh the cons, providing an exciting and rewarding adventure that enriches the base game without compromising its core elements.

How to Beat Logur the Beast Claw in Shadow of the Erdtree

Logur the Beast Claw is an optional boss in Elden Ring’s Shadow of the Erdtree DLC. You might encounter him early in your journey through the Shadow Realm, as he roams the forests south of the starting area in Gravesite Plain, on the way to the Church of Consolation. Despite his small, unassuming appearance, Logur’s savage Beast Claw weapon can be quite challenging if you’re not prepared.

Defeating Logur rewards you with his Beast Claw weapon, one of the new weapon types introduced in the Shadow of the Erdtree DLC. Below, you’ll find his precise location and tips on how to exploit his weaknesses to secure victory.

How to Beat Logur the Beast Claw

Location:
Logur can be found in the forests south of the starting area in Gravesite Plain. Here’s his precise location on the map:

Insert Map Image Here

Battle Strategy:

Close Quarters Combat:
    Logur fights with a clawed glove, utilizing swipes, slashes, lunges, and pounces. These attacks are designed to pin you down and cause blood loss.
    Logur is nimble, frequently rolling, dodging, and scampering away if you try to hit him multiple times.
    Avoid trying to absorb his attacks with a shield, as this will quickly drain your stamina and break your stance.

Dodging and Attacking:
    The key to defeating Logur is to stay close and take single jabs and strikes when he has his back turned or has just finished an attack.
    His leaping pounces are relatively easy to avoid, giving you a window to sidestep and counterattack while he recovers.

Interrupting Healing:
    Be aware that Logur will attempt to heal when his health is low. You can interrupt this process by hitting him quickly, preventing him from restoring his health and allowing you to continue dealing damage.

Tips:

Dodge-Roll: Continuously dodge-roll to avoid his furious slashes and pounces.
Single Strikes: Focus on landing single, well-timed strikes when he’s vulnerable rather than trying to perform multiple hits.
No Shields: Resist using your shield; dodging is more effective against his attacks.

Rewards:

Upon defeating Logur, you’ll receive 3000 Runes and the Beast Claw weapon.

Beast Claw Stats:

Requirements: 13 Strength, 11 Dexterity
Scaling: Strength (D), Dexterity (D)
Special Skill: 'Savage Claws' – This skill allows you to pounce like a beast and viciously slash into your foe with both claws.

Congratulations on defeating Logur the Beast Claw and obtaining the Beast Claw weapon. With this powerful weapon in hand, you can continue your journey through Gravesite Plain with renewed confidence.